
Start Generating Images and Videos
After exporting the scene settings from the previous step, you can now start using BatchX. If you haven't downloaded BatchX yet, start your free trial here.
After launching BatchX, this is how the initial screen will look like
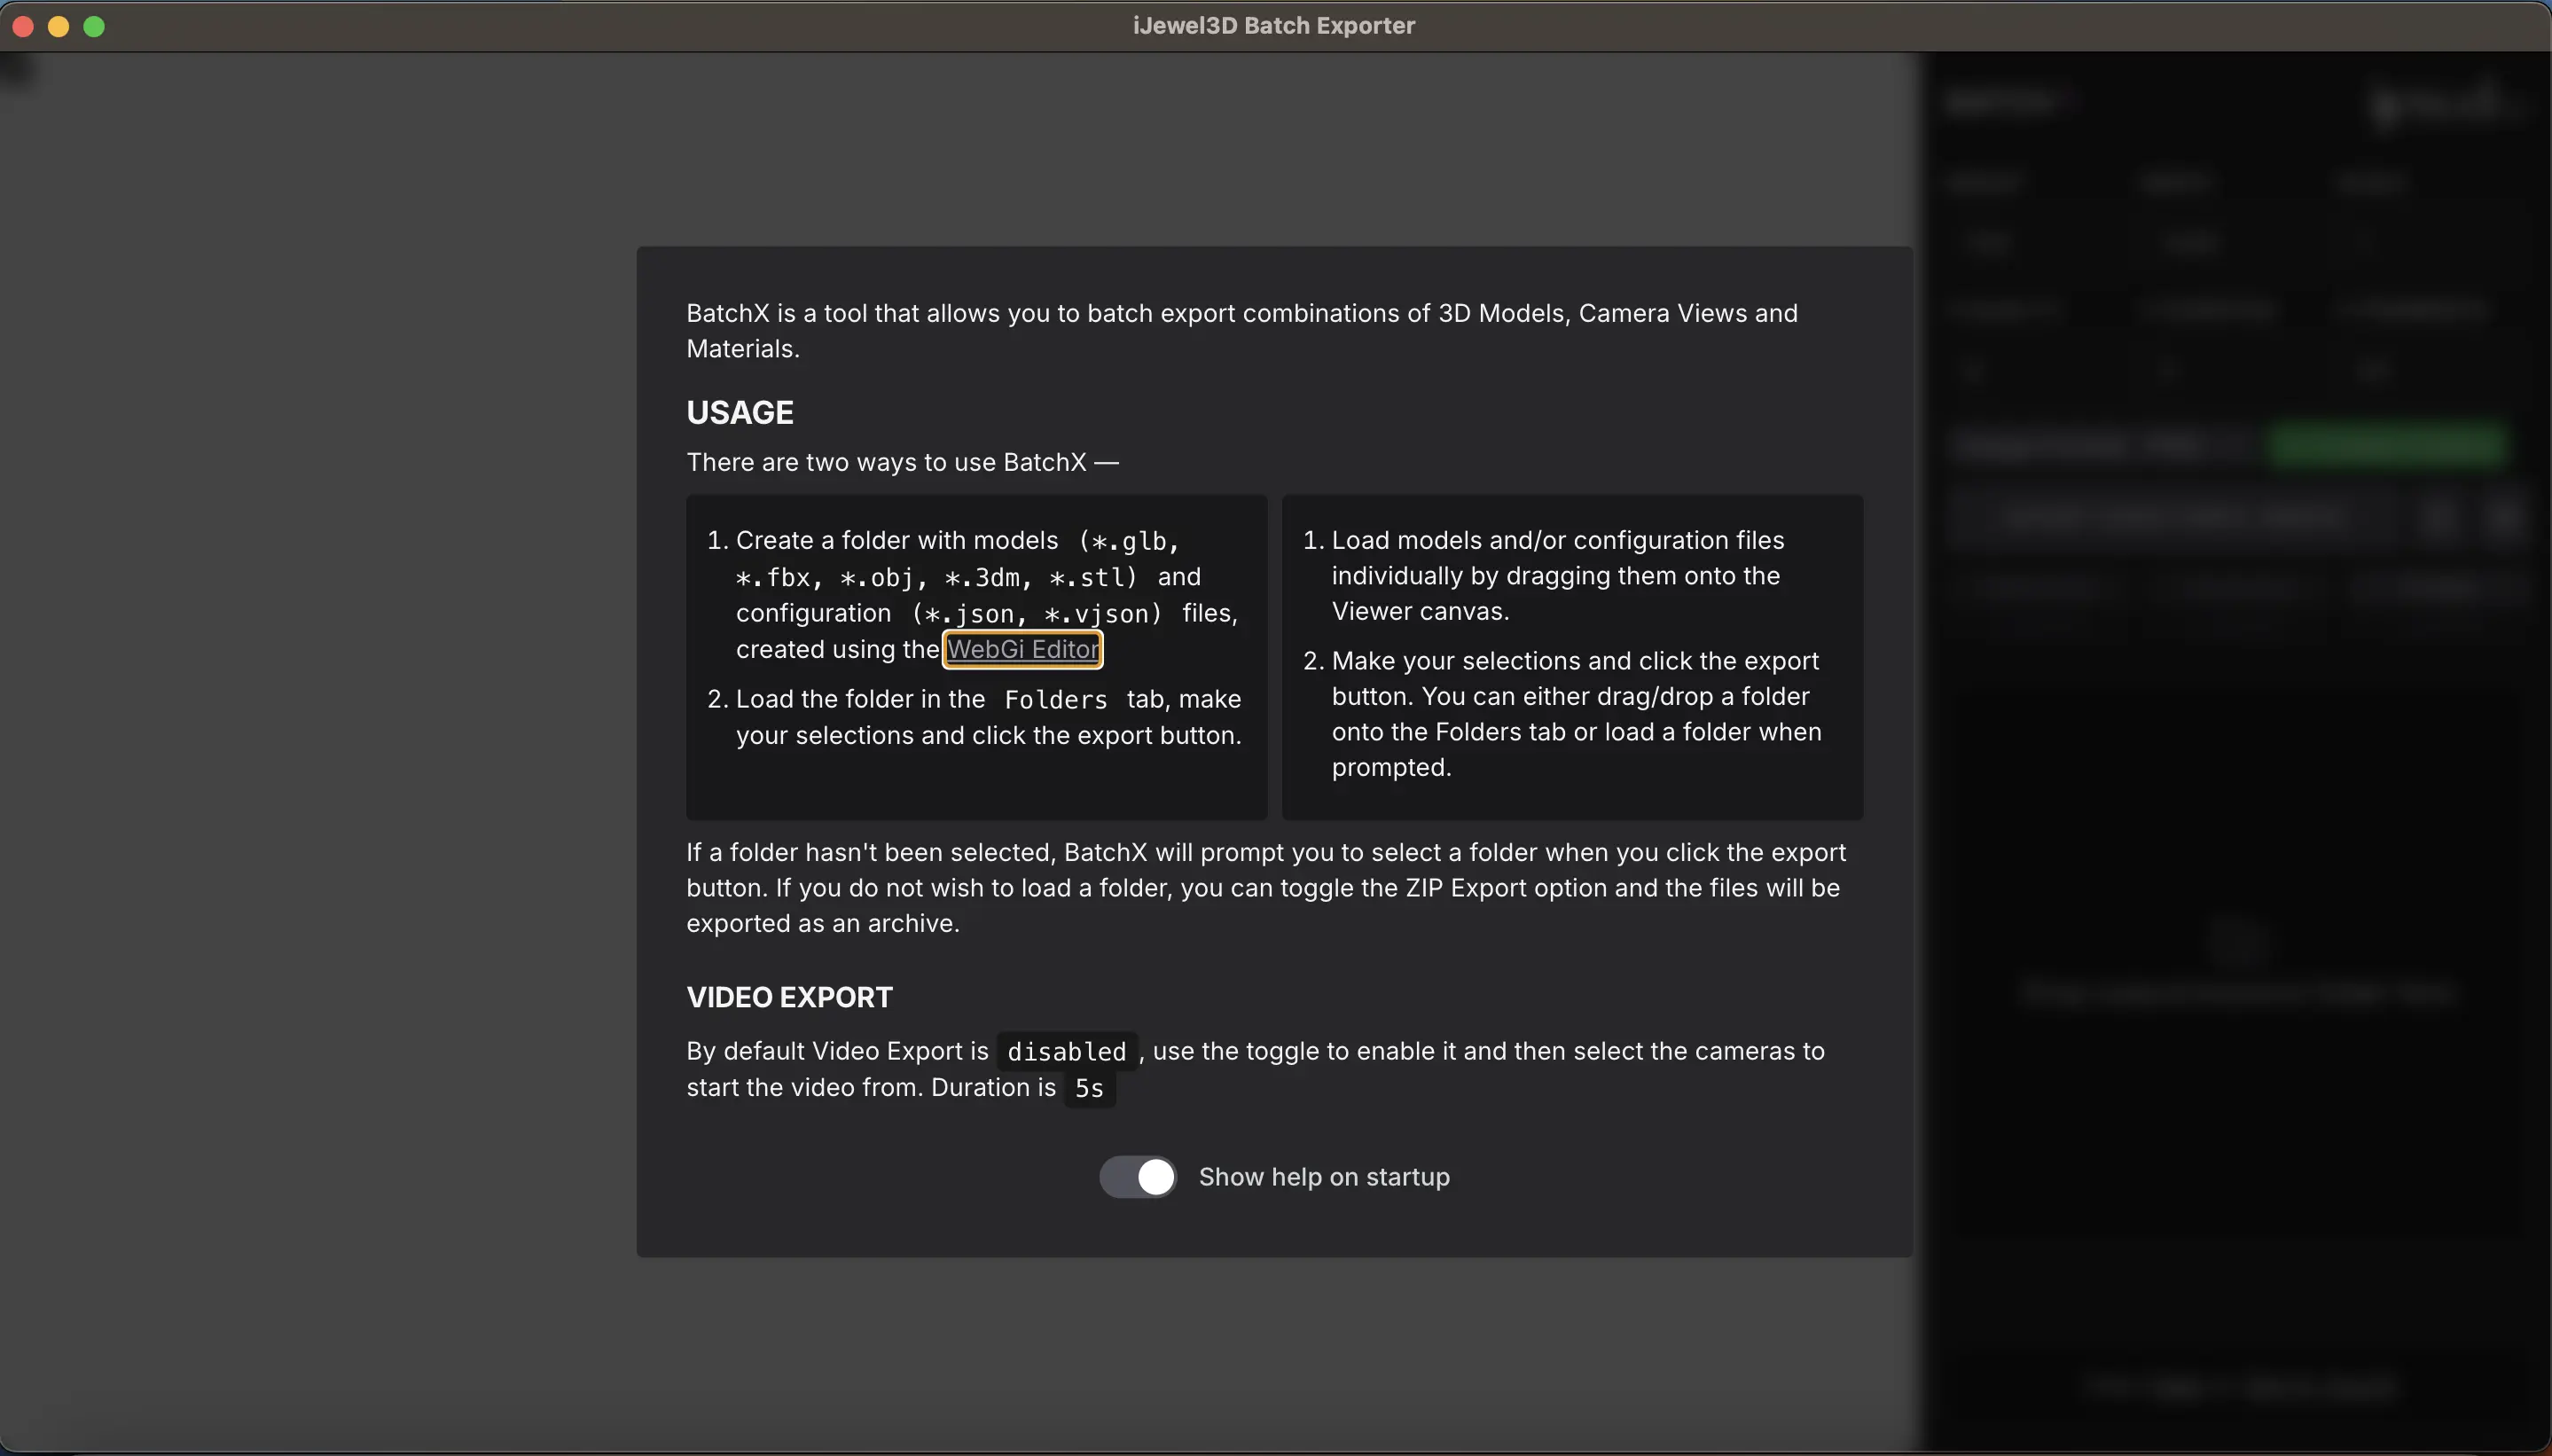
Follow the next couple of steps to start your batch renders
Create folder
Create a local folder and drop all your 3d files, and the prepared scene setting vjson file. Make sure that you have only one scene setting vjson file in this folder, as BatchX will pick up only one file for the settings.
Drag and drop the local folder in the dedicated area: 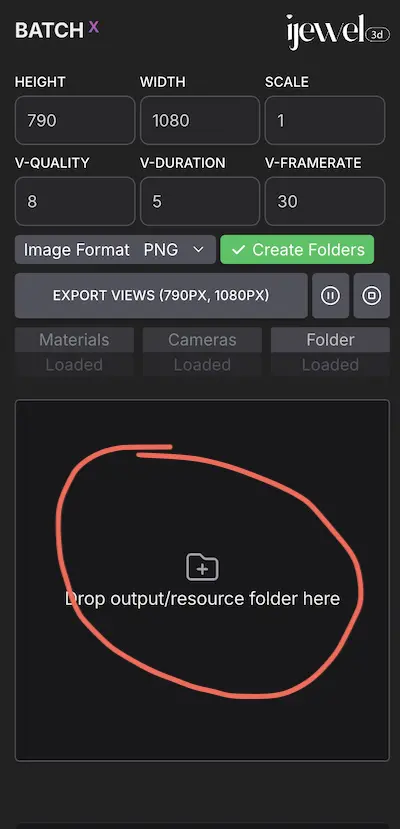
Start Batch render
Now press the "EXPORT VIEWS" button to start the batch rendering!
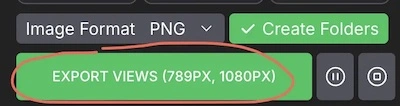 BatchX will start the media rendering, and dump the results in an "output" folder created within the source folder.
BatchX Settings
General settings
The settings are under Export Options.
| Setting | What it sets |
|---|---|
| Width | The width of the image in pixels. The maximum is 4096. |
| Height | The height of the image in pixels. The maximum is 4096. |
| I-Quality | The image quality. The maximum is 64. |
| V-Quality | The video quality. The maximum is 32. |
| V-Duration | The video length in seconds. The maximum is 20. |
| V-FPS | The video frame rate. The maximum is 60. |
| Image Format | PNG, JPEG or WebP. |
| Create Folders | Makes a subfolder for each 3D file. |
Set the image size and format
- Under Export Options, enter the Width and the Height in pixels. For a square image of 2000 × 2000 pixels, enter 2000 in each field.
- In Image Format, select JPEG for small files. Select PNG for the best quality.
- Check the size on the export button. It shows Export Views with the height and the width in pixels.
All 3 steps are done.
BatchX keeps your settings for the next session. BatchX sets the size in pixels only. It has no DPI setting. To get a 300 DPI print, divide the print size by 300. For example, a 2000 pixel image prints at approximately 17 cm at 300 DPI.
Render every view with every material
BatchX renders each selected camera view with each combination of the selected materials, in one run. The materials of one layer are one group. BatchX makes one combination for each material of each group.
Example: your scene settings have 6 camera views. The metal layer has 3 materials: yellow gold, white gold and rose gold.
- On the Cameras tab, select the 6 views.
- On the Materials tab, select the 3 metals.
- Start the export.
All 3 steps are done.
BatchX makes 6 × 3 = 18 images for each 3D file. If the gem layer also has 2 selected materials, BatchX makes 6 × 3 × 2 = 36 images.
To use a different gem material for each stone shape, put each shape on its own layer. See Prepare 3D models.
Tabs
Folder
All 3d files present in the folders are shown here. You can also search files by names, and enable/disable batch rendering on specific files. 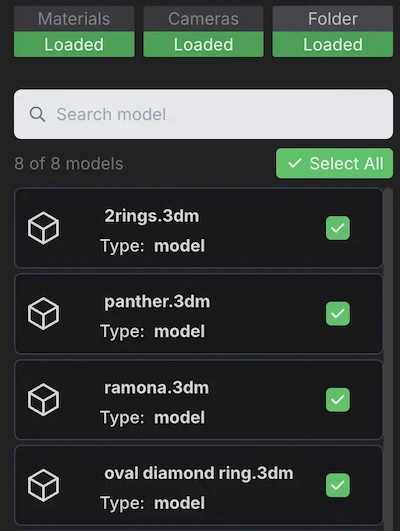
Cameras
All the camera views present in the scene settings are shown here. You can enable/disable, image/video generation by clicking on the specific item. Additionaly it is possible to add the current view as an additional camera view for your batch rendering, with Add current view. 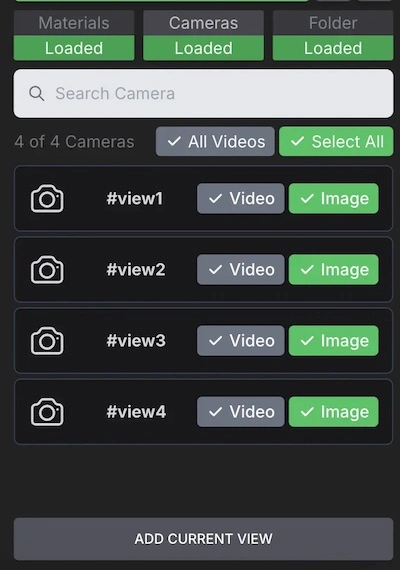
Materials
All the materials and material variations are listed here. You can search materials by name and filter out materials for which you dont want to create the renders. 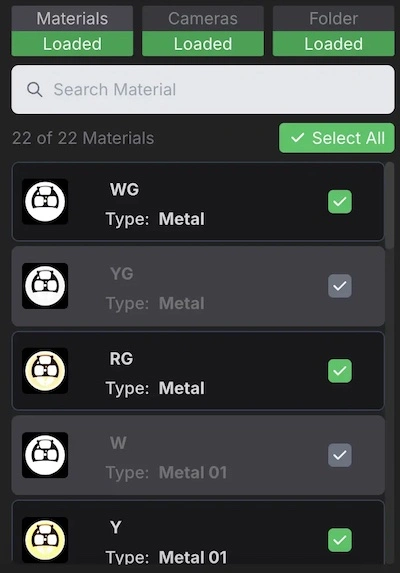
GroundPose
This tab puts the ring upright on the ground and points the camera at its front. A ground view has three values: Distance, Latitude and Longitude, measured from the model. Click Add ground view to add a view. Each file gets the same ground views.
Ground views are made in BatchX. The views from the Playground Pose tab stay in Playground.
If the ring is upside down in the ground view, rotate it 180 degrees in your CAD program and export it again.
TIP
Its best to use the 3dm file format for the 3d files, with consistent layer names. This will save you a lot of time
Batch Renderer in Playground
The Batch Renderer tab in iJewel Playground renders the views and materials of one model in your browser.
File names. Each file gets the name of the camera view, then the names of the materials: <view name>_<material 1>_<material 2>. To change the view name, click the pencil on the view card. With Export Selected Material on, only the current materials are rendered, and the file name is the view name.
The same camera views on every model. Click Download Configuration to save the views as a file. Open the next model and drop that file on the viewer. The views match when each model has the same position and orientation.
Troubleshooting
If BatchX stops, shows an empty screen, or does not make the renders, do these checks in sequence:
- Use the latest BatchX. Download it from batchx.ijewel3d.com.
- Export the scene settings again. After an update of BatchX or iJewel Playground, export a new
.vjsonfile from Playground. See Prepare Scene Settings. - Check the camera views. The
.vjsonmust contain the camera views that you want. With no camera views, BatchX renders only one default view. - Check the material configurations. Each layer needs a minimum of one material configuration in the
.vjson. With no material configurations, BatchX makes no renders. - Check the layer names. The layer names in the 3D files must be the same as in the scene settings, with the same spelling and no spaces before or after the name.
All 5 steps are done.
If the problem continues, send one 3D file and the .vjson file to contact@ijewel3d.com.
Video Tutorials
To go through the entire process in detail, check out the following playlist.
Watch the complete playlist on Youtube - https://www.youtube.com/watch?v=97Nu5WGWdNs&list=PLIWKi7kUUJPgoGuQUCOIeAuk9xPuuMZQh