
Engraving placement
Place an engraving on a part, then move, rotate and size it with the gizmo or the sliders.
You place an engraving with the engraving tool on the model and with the Position group of its card. The tool has two modes, Place and Adjust. You can switch between them in the bar above the engraving or in the Position group. To add an engraving first, see Engraving.
Place
In Place mode, click the part where the engraving should go, and the engraving moves to that spot. The bar above the engraving says Click the part where it goes.
- Keep here leaves the engraving where it is and switches to Adjust.
- A new engraving always starts in Place mode.
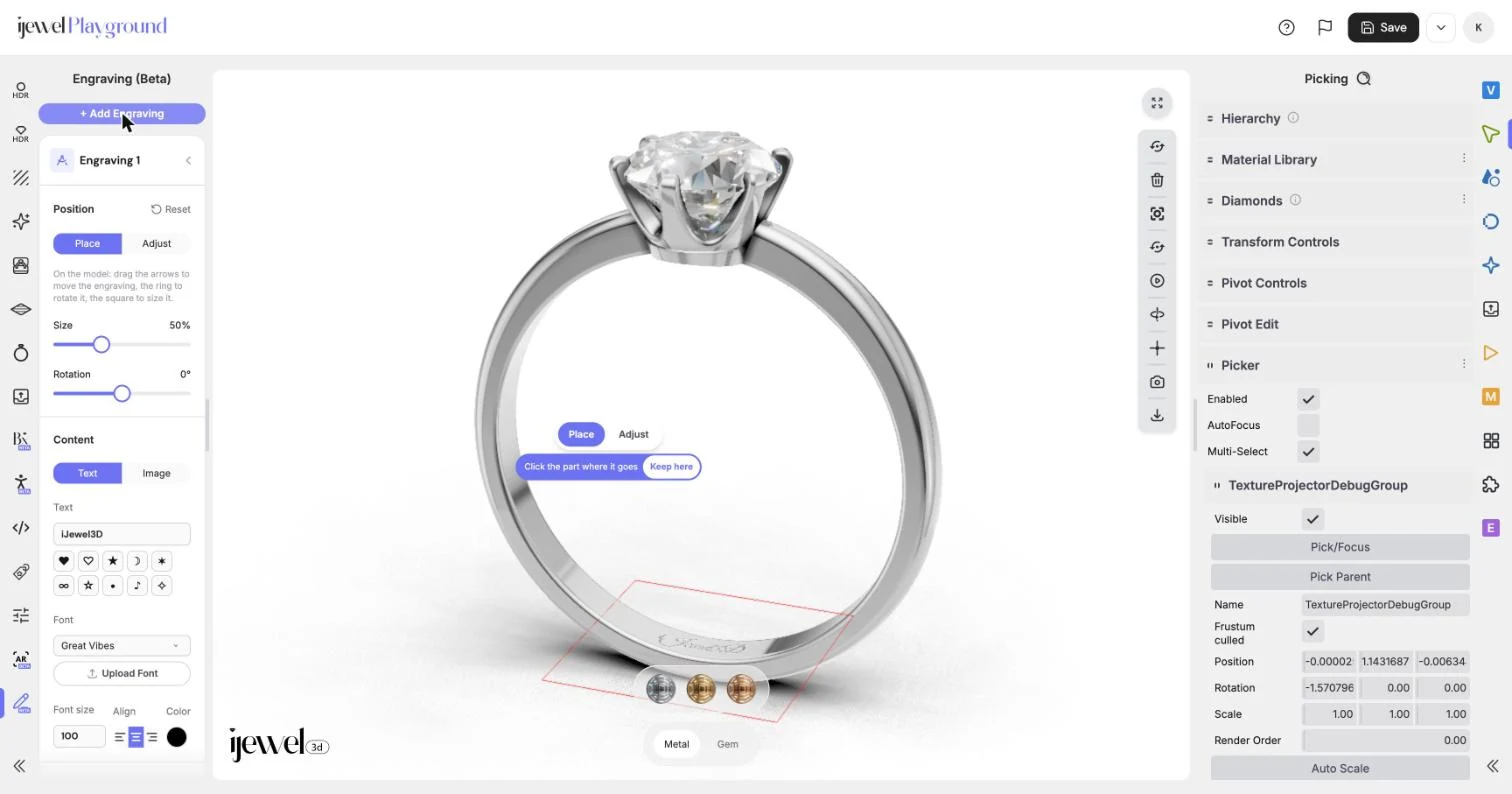
An engraving belongs to the part it was added to. If you click another part in Place mode, a message tells you to select that part and add an engraving there.
Adjust
In Adjust mode, a gizmo appears on the engraving:
| Handle | What it does |
|---|---|
| Arrows | Drag to move the engraving along the part. |
| Ring | Drag to rotate the engraving. |
| Square | Drag to make the engraving larger or smaller. |
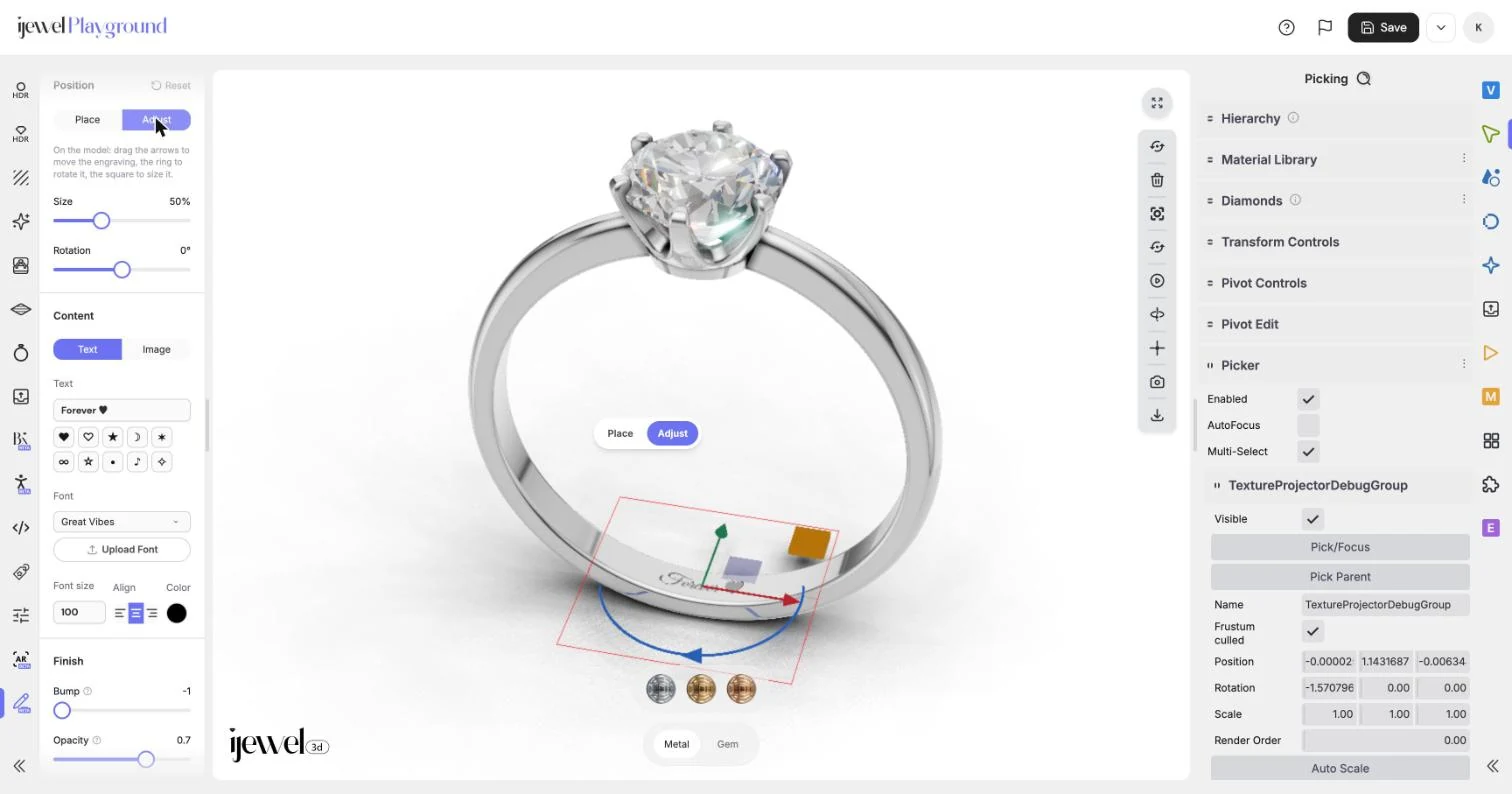
If the engraving slides off the part, the bar shows Not on the part. Use Place. Click Place, then click the part.
Size, rotation and reset
The Position group of the card has the same controls as sliders:
| Setting | What it does |
|---|---|
| Size | The size of the engraving, in percent. |
| Rotation | The angle of the engraving, in degrees. |
| Reset | Puts the engraving back at its start position, above the part. |
Example: to center a name inside a band, click Place, click the inside of the band at the bottom, then fine-tune with the arrows and Size.
Advanced
Open the Advanced group of the card for these helpers:
| Setting | What it does |
|---|---|
| Show projector | Shows the projector frame of the selected engraving, with its near and far clip planes. |
| Near clip | Nothing closer to the projector than this is engraved. |
| Far clip | Nothing farther from the projector than this is engraved, for example the far side of a band. 0 turns it off. |
Example: if a name inside a thin band also shows on the other side of the band, lower Far clip until only the near side has it.
TIP
Turn off Show projector before you click Update Poster or export an image. The frame is only a helper, but it shows in captures while it is on.
Tips
- Select the part first. The engraving goes onto the part that is selected when you click + Add Engraving.
- Turn the view. To engrave the inside of a band, turn the model until you look into the ring, then click Place and the inside of the band.
- Keep the text short. A long text on a narrow band gets small. Initials and a date read better than a full sentence.
Related pages
- Engraving: add, delete and save engravings
- Engraving text and images: text, fonts, symbols, logos and the finish