
Import Scene Settings
iJewel Playground allows you to import scene settings files to quickly apply preconfigured environments, lighting, post-processing, and more. This is especially useful when you want to reuse a look you've already perfected or share setups between projects.
Supported Formats
| Format | Description |
|---|---|
.vjson | Complete scene configuration — contains all settings: HDR maps, background, ground, post-processing, tonemapping, camera, and more |
.json | Partial settings — contains only specific settings, for example only ground or only tonemapping |
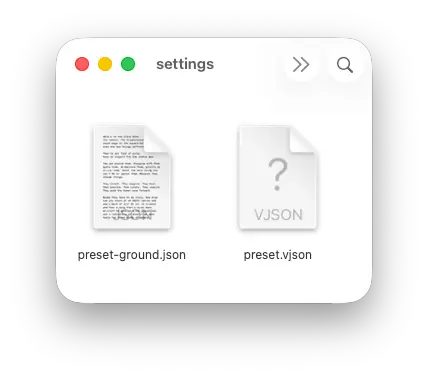
What's inside a .vjson file?
A .vjson file is a full snapshot of your scene configuration. It includes everything: environment HDR maps, background color/gradient, ground settings, light positions, post-processing effects (bloom, SSAO, SSR, etc.), tonemapping, anti-aliasing, and camera parameters. Importing one instantly recreates the entire look of a scene.
Two Ways to Import Settings
There are two ways to use settings files: apply directly to the current scene or save to the preset library for reuse.
Method 1 — Apply Directly to the Current Scene
Use this method when you want to quickly load settings into your active scene.
- Open your project in Playground
- Drop the model onto the canvas first.
- Drag and drop your
.vjsonor.jsonfile onto the 3D canvas - The settings are applied immediately. The scene updates in real time.
All 4 steps are done.
A .vjson file replaces the environment map, the environment intensity, the background and the camera of the current scene. After the import, examine the environment intensity again and adjust it for your model.
TIP
This is the fastest way to switch between different scene looks. Just drag a different .vjson file to instantly change the entire atmosphere of your scene.
Method 2 — Save to Scene Presets Library
Use this method when you want to save a .vjson file for reuse across multiple projects. Once added, the preset stays in your library and is available anytime.
- Open the left panel and go to the Scene Presets tab:
 Scene Presets
- Click the square with a plus icon at the beginning of the preset list
- Select the
.vjsonfile you want to upload - The preset will be added to the library with an automatically generated preview of the scene settings
- To apply the preset, simply click on its icon
- To remove a preset from the library, click the cross icon at the top-right corner of its thumbnail
All 6 steps are done.
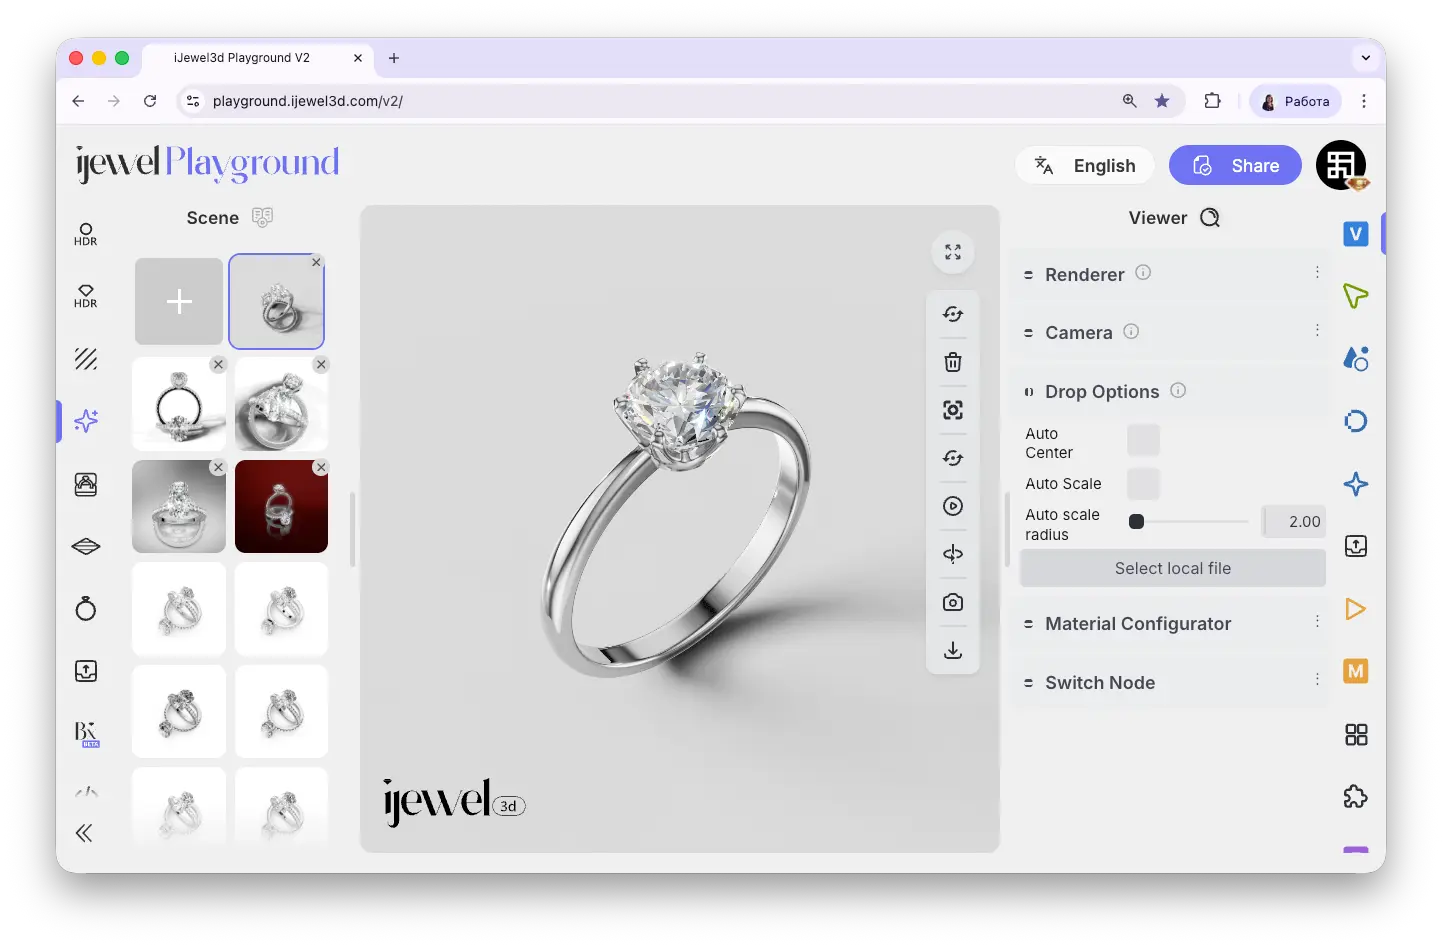
When you apply a preset from the library, a window lets you select which parts of the preset replace the settings of your file:
- Camera
- Loading Screen
- Interaction Prompt
- Parallax Mapping
- Renderer UI
- Camera Views
- Material Configurator
- Switch Node
For example, turn off Camera to keep your current camera, or turn off Material Configurator to keep your materials.
Premium & Advance
Saving presets to the library requires a paid plan. Premium allows up to 5 saved presets, and Advance allows up to 100. See pricing details for more information.
.vjson vs .json — When to Use Which
.vjson | .json | |
|---|---|---|
| Scope | All scene settings at once | Only specific settings |
| Use case | Recreate an entire scene look | Adjust one aspect (e.g., ground only) |
| Example | Full studio setup with HDR, lighting, ground, post-processing | Just the tonemapping or just the ground shadow |
| Library | Can be saved to Scene Presets | Ground .json can be saved to Ground tab; other .json — drag & drop only |
Ground Presets
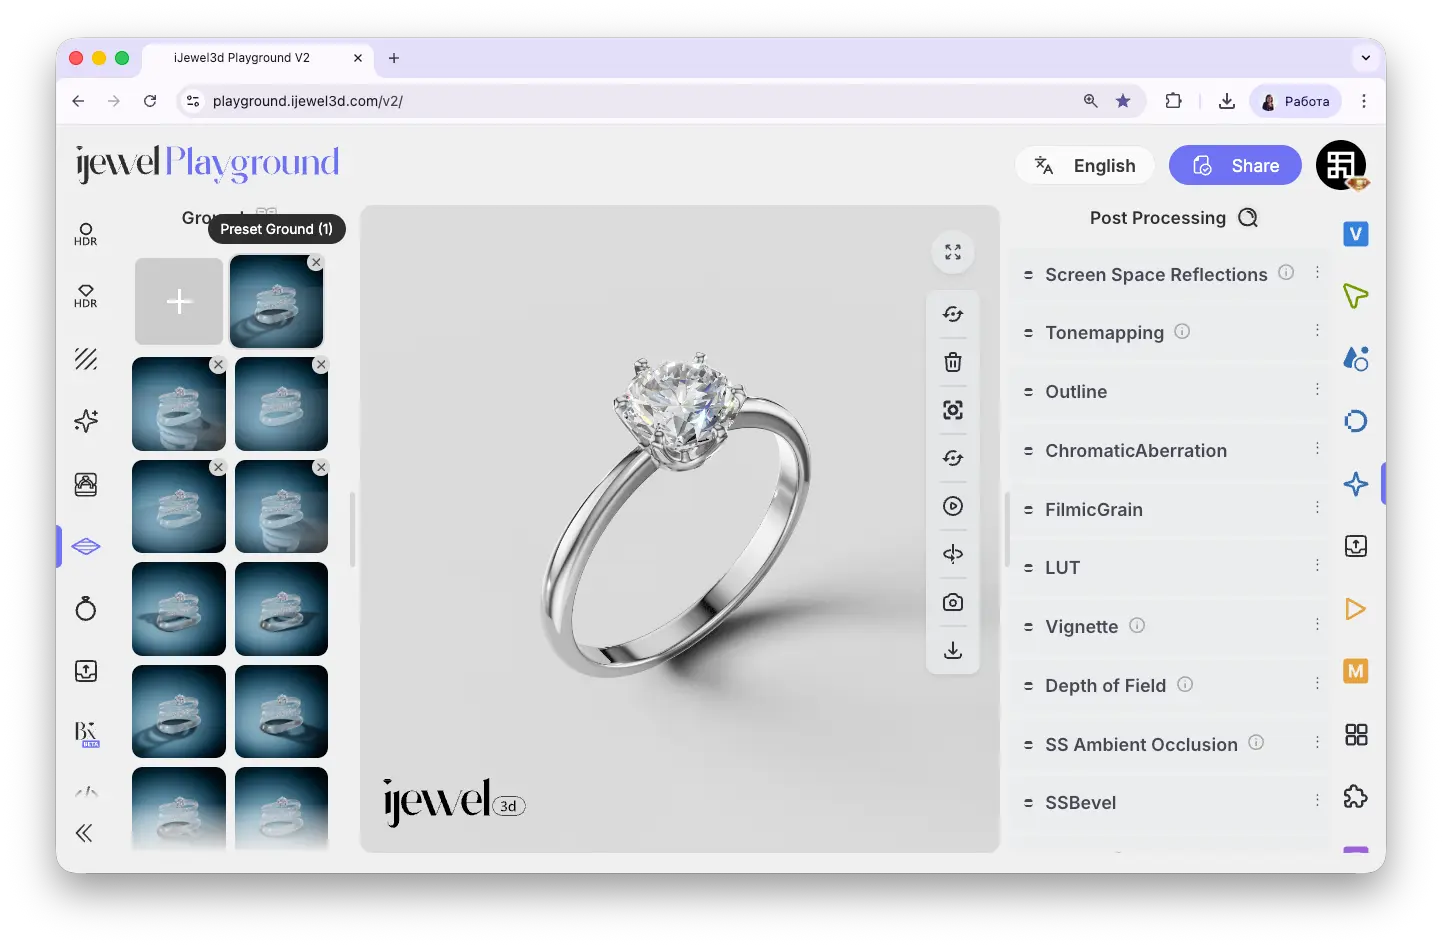
A .json file with ground settings can also be saved to the library — use the  Ground tab on the left panel and click the plus icon, just like with Scene Presets. Other partial
.json files (tonemapping, etc.) can only be applied via drag & drop.
Related Pages
- UI Overview — Learn about the interface layout and panels
- UI Overview — Left Panel — Scene Presets and other quick settings
- Import Materials — Import custom
.pmatand.dmatfiles - Importing 3D Models — Bring your 3D designs into Playground
- Renderer Settings — Configure render quality and scale
- Export Models — Export your scene as
.glb, including settings - Export Scene Settings — Export
.vjsonand.jsonscene configuration files