
Engraving text and images
Choose the text, font and symbols of an engraving, or engrave a logo, and set its depth.
Each engraving shows either a text or an image. You choose it in the Content group of the engraving card, and you set its look in the Finish group. To add an engraving first, see Engraving.
Text
In Content, click Text.
| Setting | What it does |
|---|---|
| Text | The words of the engraving. |
| Symbols | Click a symbol, such as ♥, ★ or ∞, to add it to the end of the text. |
| Font | Choose one of the engraving fonts, from scripts such as Great Vibes to capitals such as Cinzel. |
| Upload Font | Use your own font file (.woff, .woff2, .ttf or .otf). It is saved to your Drive and appears at the top of the Font list. |
| Font size | The size of the letters in the engraving. |
| Align | Left, center or right. |
| Color | The color of the text. |
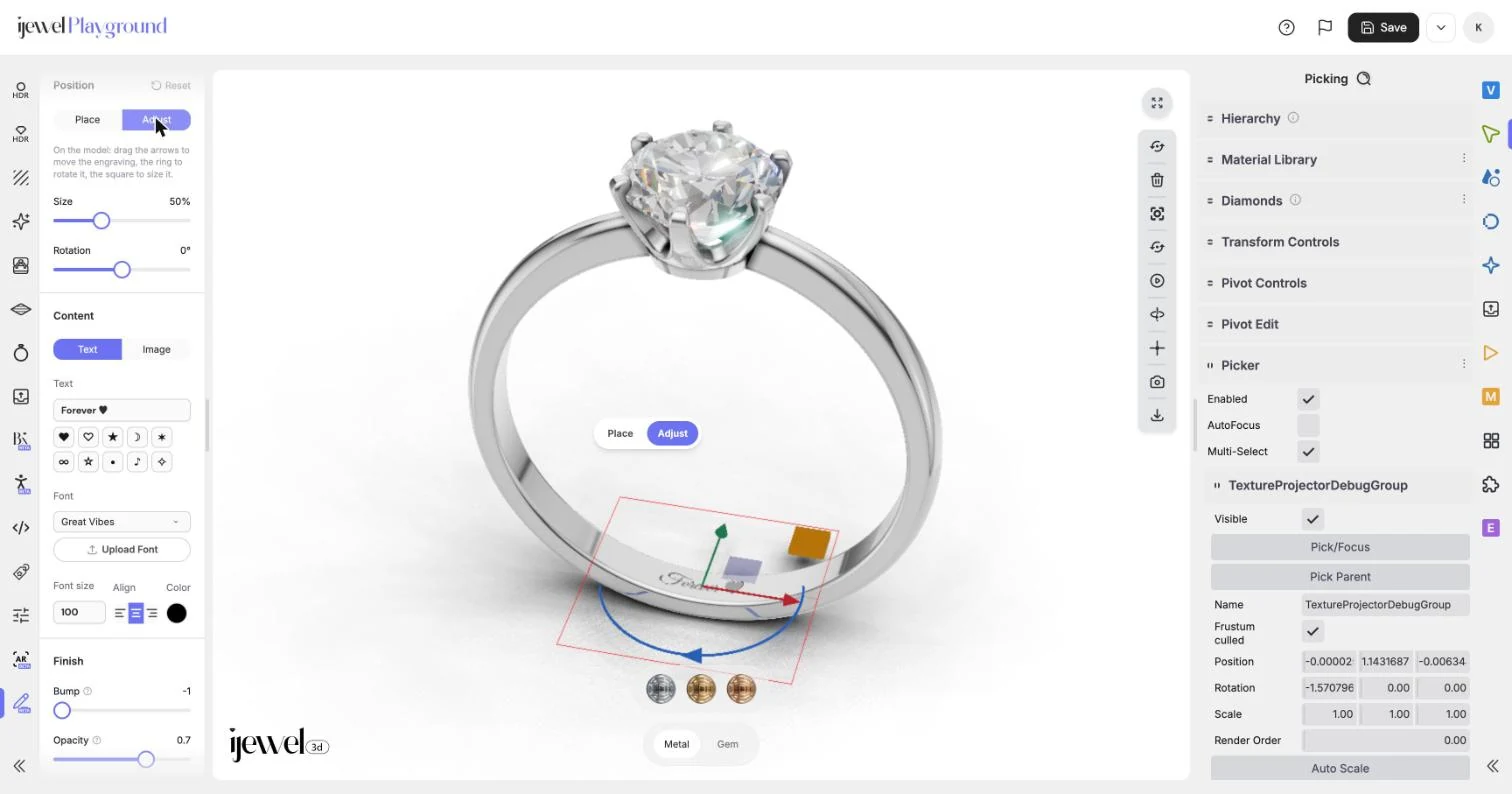
Example: for a wedding band, type the couple's initials and the date, such as A & L 06.09.2026, choose Cinzel, and make it larger with the Size slider in Position.
To remove an uploaded font:
- Choose another font for the engraving. The font in use has no ×, and a font you just uploaded is in use.
- Open the Font list and click the × next to the uploaded font.
- Confirm with Delete.
All 3 steps are done.
Text shows a moment later
After a font change, or when a file opens, the text can appear a few seconds after the model while its font loads.
Image or logo
In Content, click Image.
- Your logos: the logos saved in your account show here. Click one to engrave it.
- Upload an image: click + and choose a PNG, JPG or SVG file. The image is added to your logos, so it is there for your other files too.
- Remove from engraving: click the × on the selected image. The engraving goes back to its text.
Remove background is on by default. It removes a plain background, such as the white around a logo, so only the logo is engraved. If the image has no plain background, a note asks for a PNG with a transparent background.
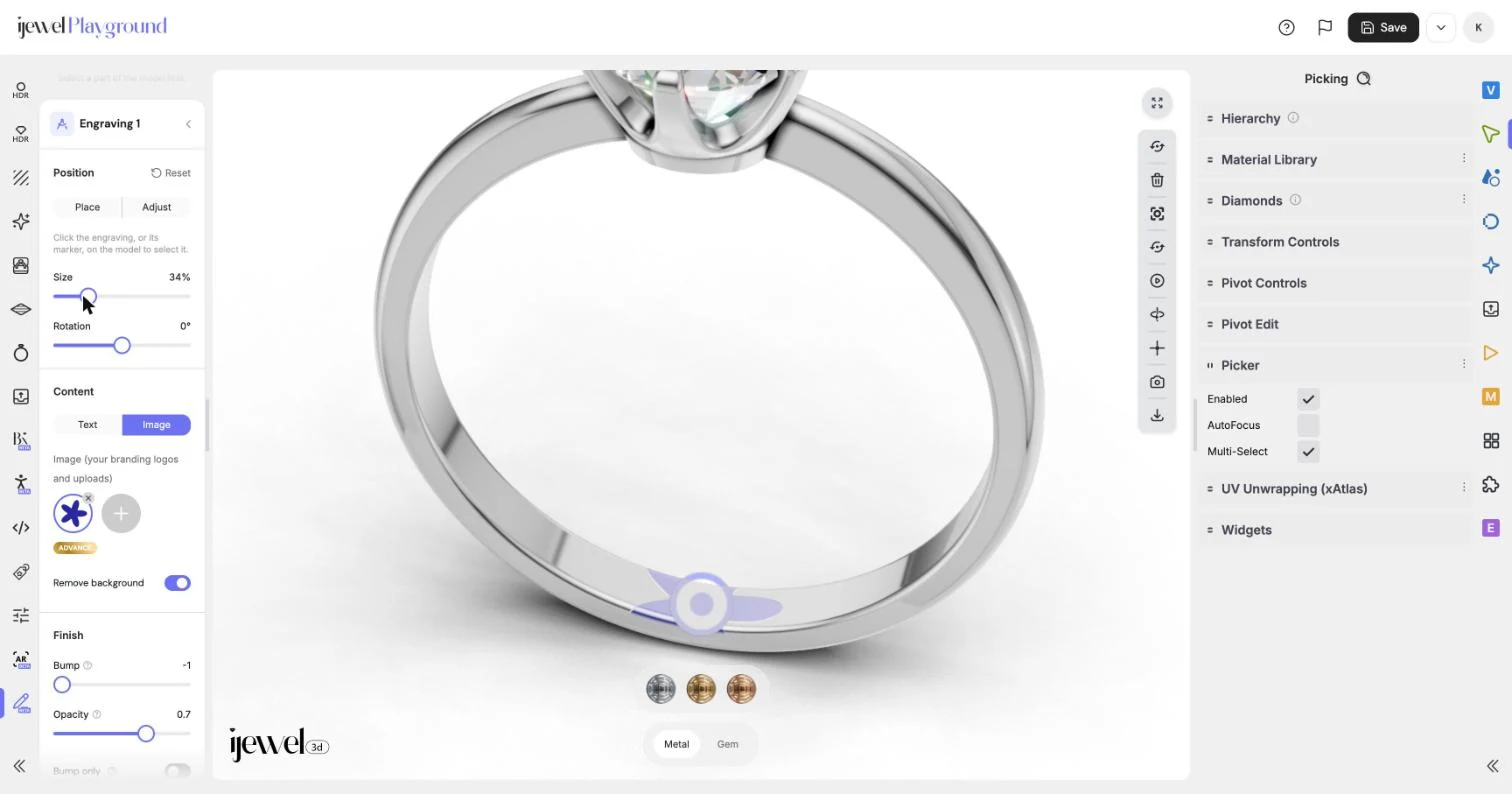
Click Text to go back to the text. The image you picked is remembered, so Image shows it again.
Logo too large?
An image can cover the whole part at a large size. Lower Size in the Position group until the logo fits.
Finish
The Finish group works the same way for text and images.
| Setting | What it does |
|---|---|
| Bump | How deep the engraving looks, from −1 to 1. The two sides of 0 give opposite reliefs: one cuts the engraving into the metal, the other raises it. At 0 there is no relief. |
| Opacity | How strongly the color covers the metal. Lower values are more subtle. |
| Bump only | No color, only the relief in the metal. Use it for a classic engraved look. |
| Parallax | The engraving reads as real depth when the view turns, not only as shading. Parallax depth sets how deep it looks. |
Example: for a classic engraving inside a band, turn on Bump only. For a colored logo, leave it off and raise Opacity.
Related pages
- Engraving: add, delete and save engravings
- Engraving placement: place, move, rotate and size the engraving